My Pie Iron Pizza Experience
Chef Jake White leaves his review on the Camp Chef Round Pie Iron.
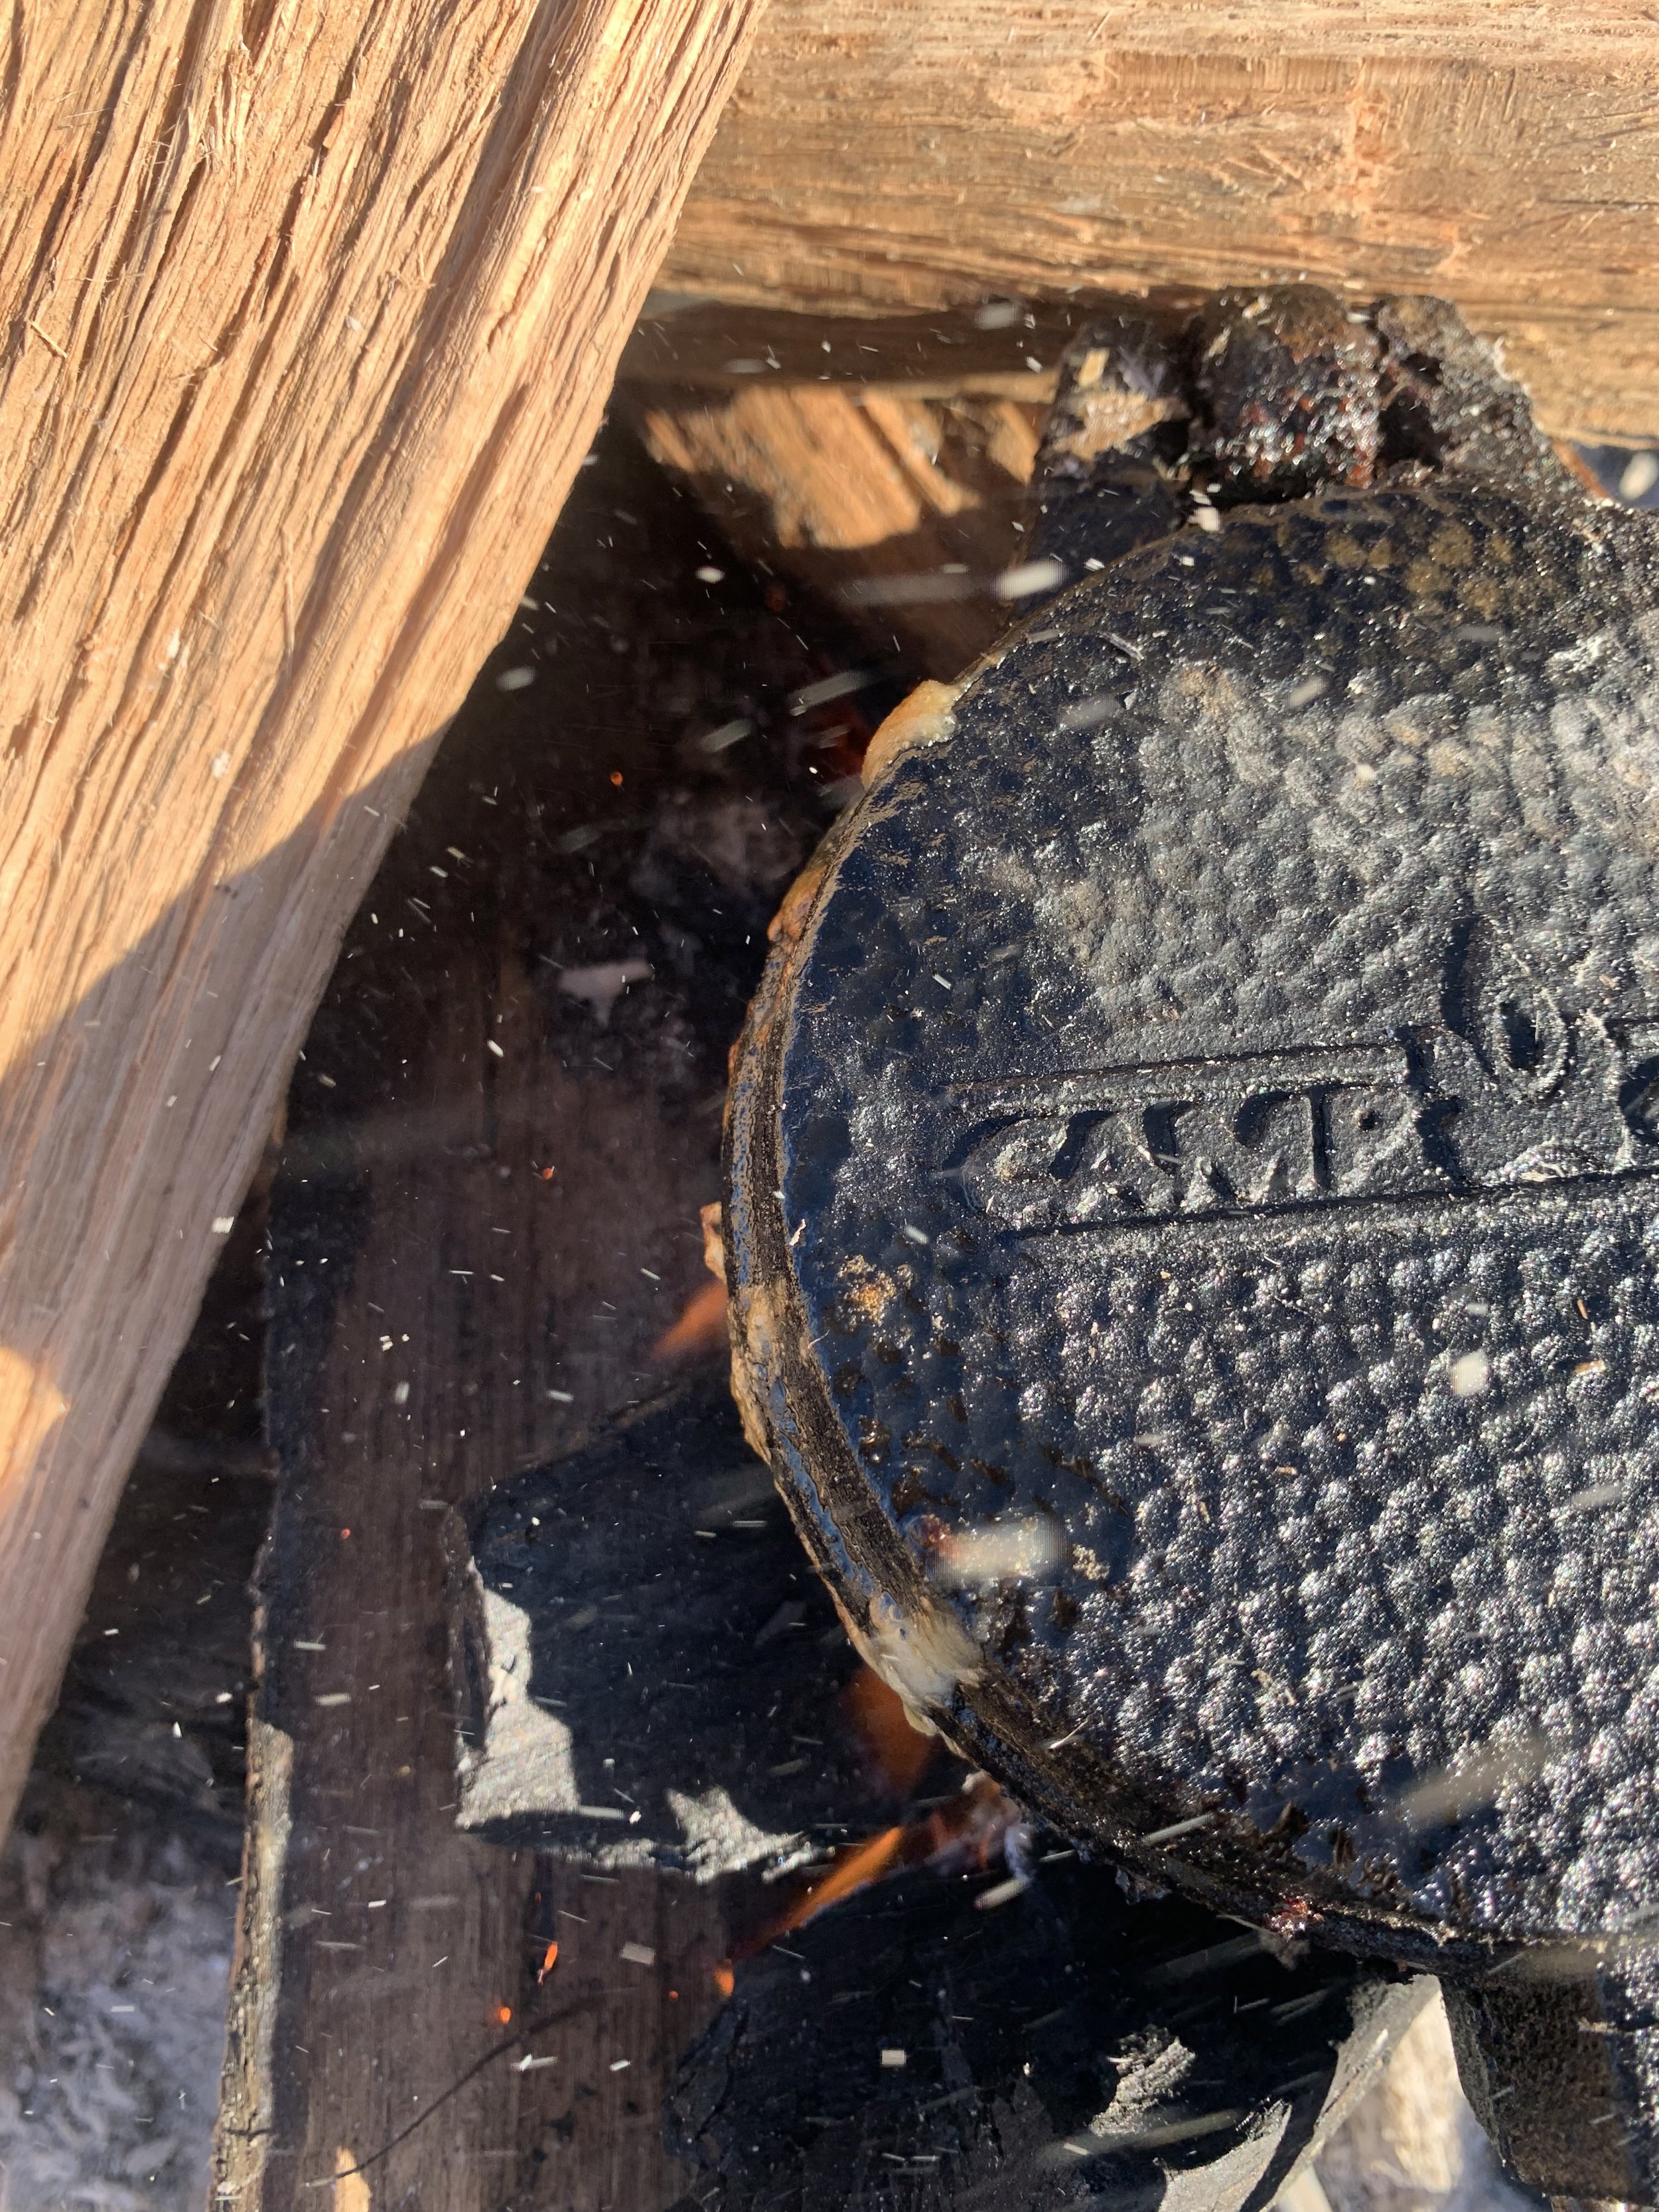
You’re not going to believe this! I have a new toy for you that will take your fireside creations to the next level. I recently ordered my Round Cooking Iron from Camp Chef and now I take it with me on every single camping trip. It’s so fun and easy to use that I’ll even bust it out on the fire-pit in the backyard when friends are over. Its cast iron design makes it nice and durable for traveling and cooking over scolding hot coals. With proper maintenance, this product will be helping you curate sweet memories & savory delicacies for years to come.
BUT WAIT! Before we go any further, make sure you have your beverage of choice ready. Now, I'm not suggesting you mix drinking with fireside cooking. If of legal age, save the drinking for when you're finished with the fire. It’ll be well worth the wait. Not quite sure what to pair with your meal? Don’t fret! Nat Geo’s, Wine’s of the World” will “upgrade” your evening by delivering quality wines right to your door!
It’s important to keep things simple when cooking at your campsite. That’s because If you’re anything like me, you’re seeking out the best primitive & dispersed camping you can find which are sites that can often be hard to get to. What I'm trying to say is - it’s ok to CHEAT! Go buy yourself some store-bought frozen pizza dough and begin thawing it out. Buy some pepperoni. Buy canned tomatoes & make a delicious sauce and bring it all with you! Once you’ve found the ideal location, get that fire roaring and start organizing your cooking area. Open your Camp Chef Pie Iron so that the inside is exposed. Spray it down with a non-stick oil spray and place your stretched out dough inside one of the cast iron trays. Make sure you leave some dough sticking out over the sides so you can seal it later. Next, you’ll want to put your sauce and toppings inside, keeping in mind that the dough will expand so try to fill up the cavity with toppings as much as you can!
Once your pie iron pizza is loaded with toppings, stretch the sides over top one another to seal the pizza up. Latch the two ends of the round iron and swing the handles together to latch the round pie iron into place.
You’re almost finished! Next you want to gently place your camp chef pie iron near the hot coals and rotate constantly for about 10-15 minutes, depending on the strength of your fire. When the outside is golden brown and the inside is steamy, melty, and cheesy…you have arrived at the culinary campfire mecca. Pat yourself on the back while you're waiting for your pizza to cool and let your day dreams tantalize you about all the other endless possibilities and ways to use the Round Pie Iron from Camp Chef.
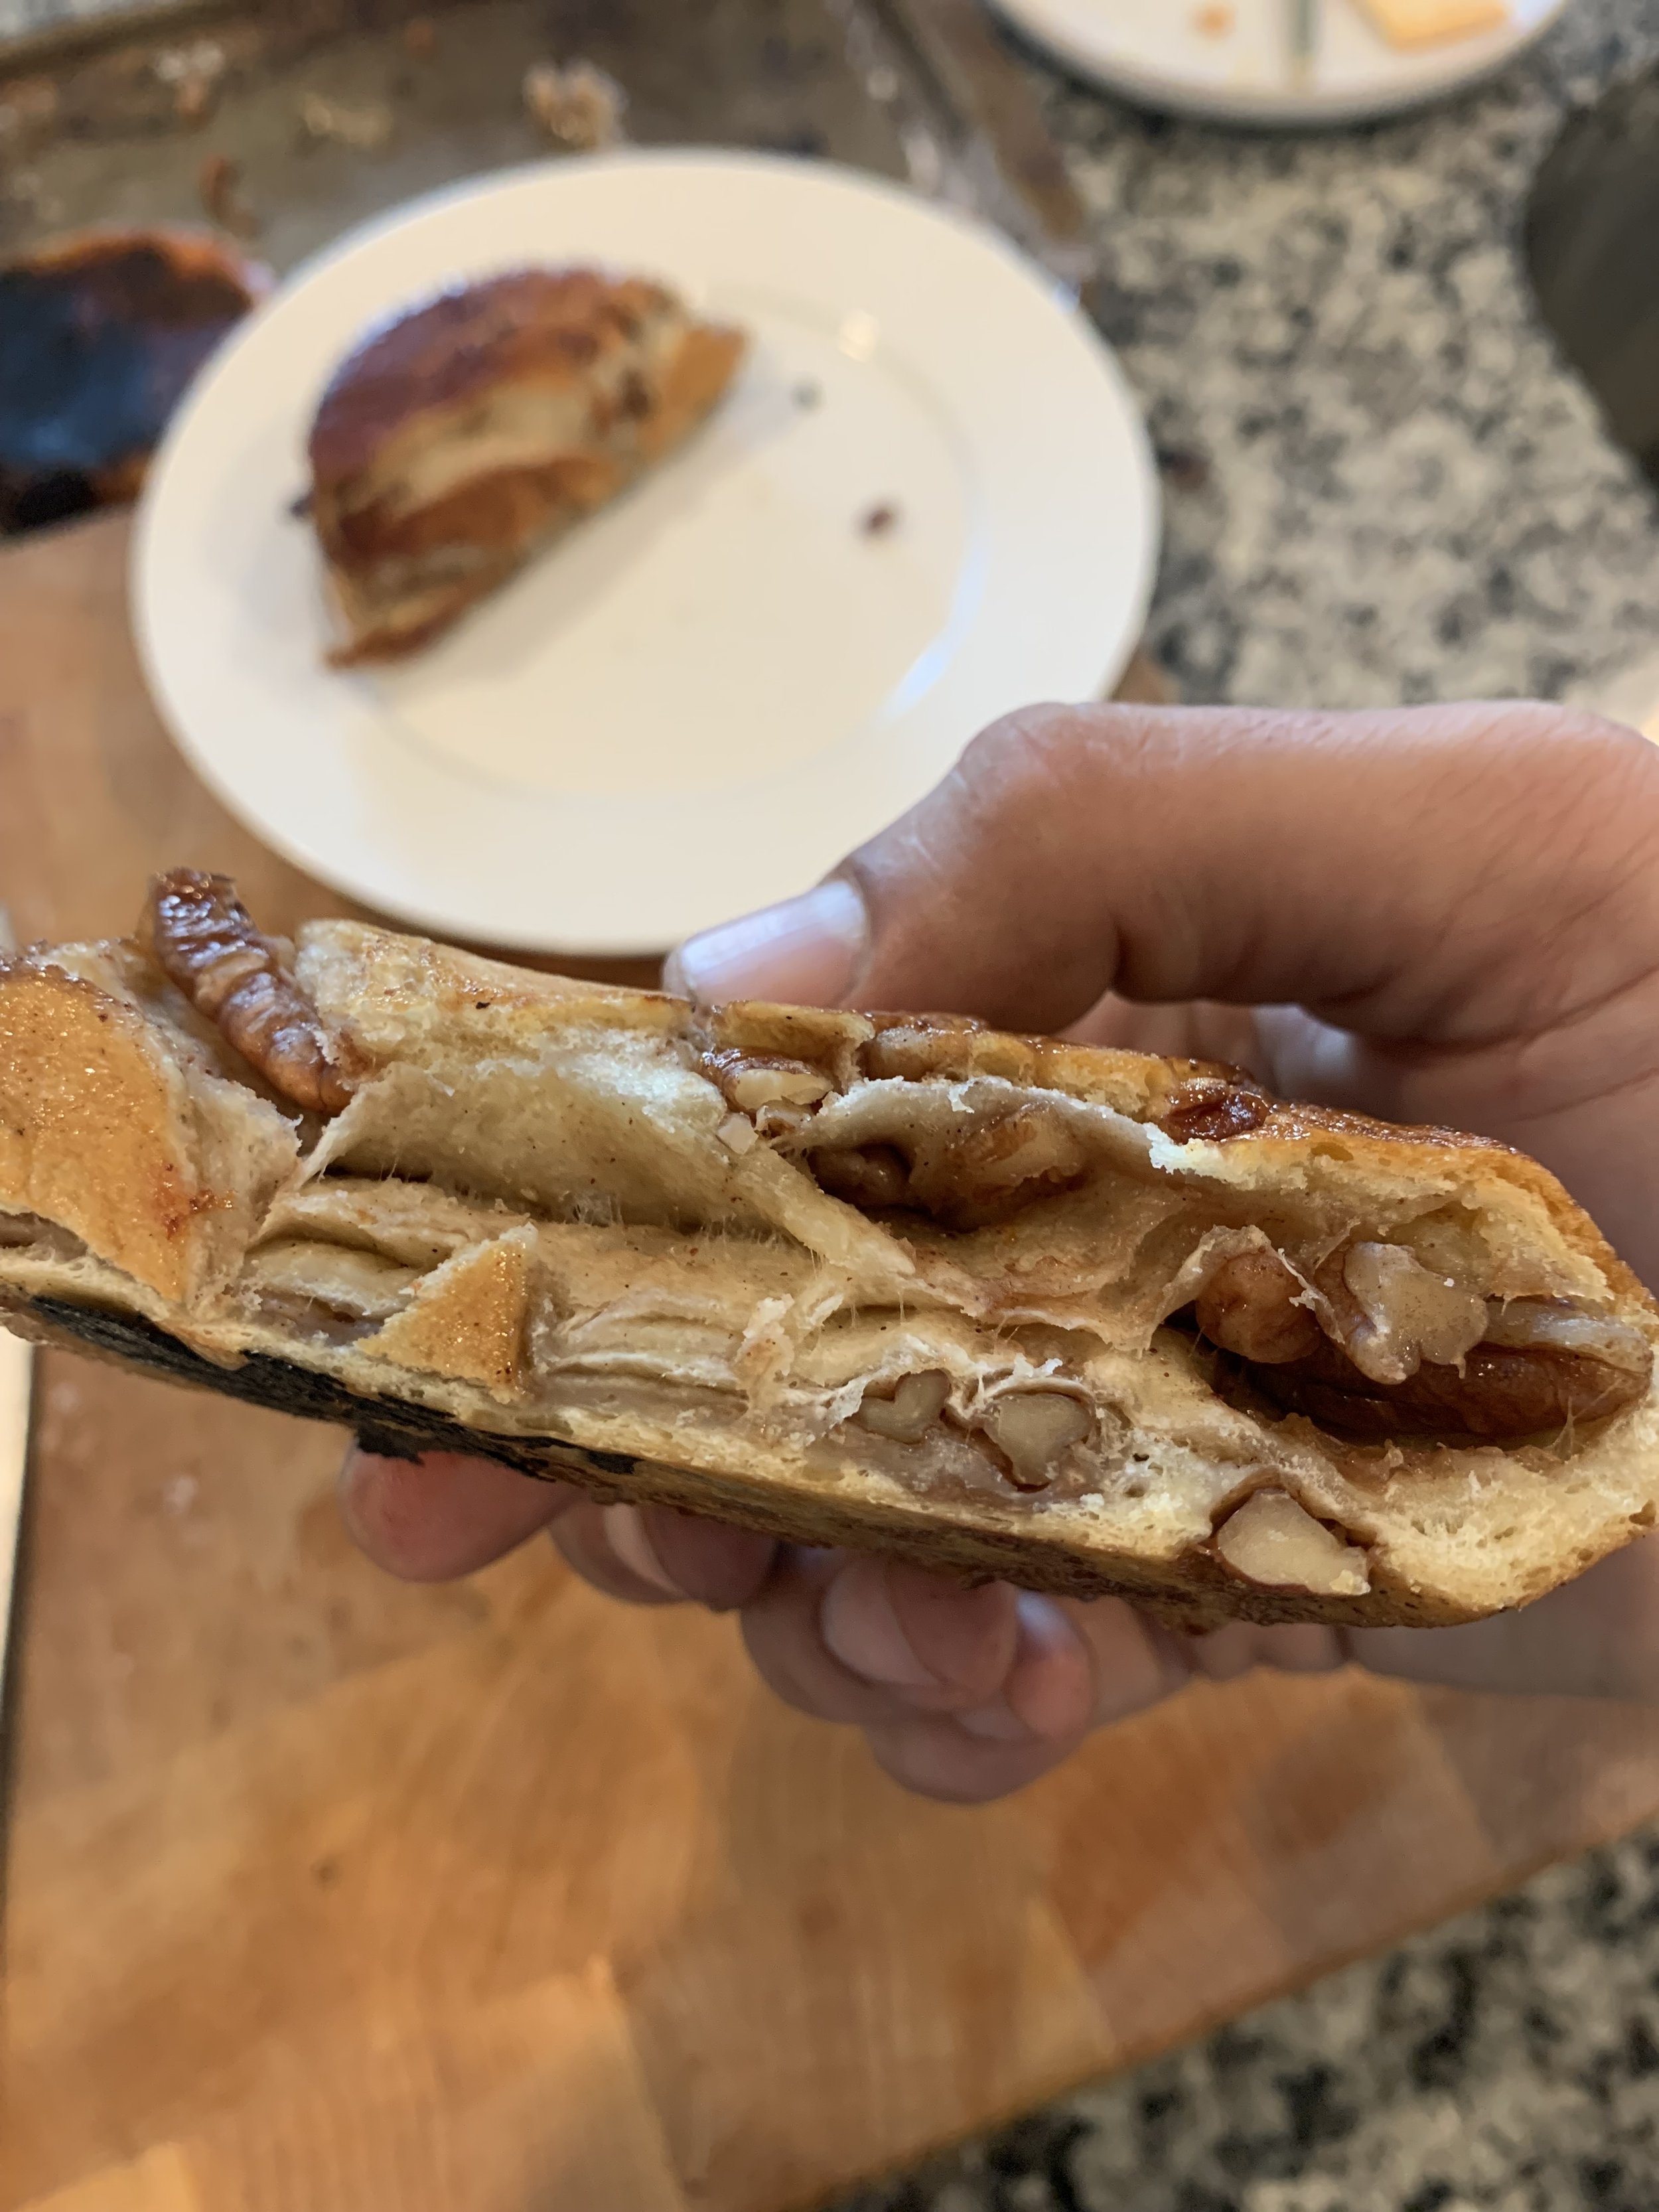
What sweet recipes can you come up with? Pictured below is a cinnamon sugar bread with walnuts made in the pie iron!
Happy Camping!
Crispy Buffalo Wings
Today i’m going to tell you the secret to Crispy, Crunchy, and Tangy Buffalo Wings that are perfect for the big game.
Hey Football Fans,
Have you ever tried making buffalo wings at home for game day? I’m sure most of you have before…. BUT have you made really delicious restaurant quality ones? Probably not. Today i’m going to tell you the secret to Crispy, Crunchy, and Tangy Buffalo Wings that are perfect for the big game.
The Wings
Alright - so the main thing we want to do with the wings is give them a nice crunchy outer skin layer without adding any breading. In order to do that, we’re going to want to reduce the moisture from the inside of the wings. So first, we’re going to PAR bake the wings on a wire rack so the fat and extra water that’s inside the wings can drip out below. (par bake means that we aren’t going to fully cook the wings. We don’t want them to dry out on us.) Once the wings are par baked, we’re going to pull them out of the oven and let them rest. Then, we’ll give them a quick seasoning, toss them in baking powder, and bake with whatever method you prefer. Air fry, fry, or bake these up for a crispy golden delicious exterior and a tender juicy interior.
The Sauce
Use about 6-8 oz. of your favorite hot sauce and mix with 2-4 Tbsp of melted butter, depending on your heat preference. Toss the crispy cooked wings in the sauce and serve with chopped parsley or green onion, bleu cheese, and some carrot and celery sticks!
The Recipe
Preheat oven to 350 degrees.
Pat your wings dry with paper towel, then salt.
Place wings on a wire rack into preheated oven for 10 minutes.
Remove from oven and let rest 5 minutes.
Salt & Pepper the wings and lightly coat them in baking powder
Cook the wings using preferred method (Bake, fry, or air fry) until they reach an internal temperature of 165 degrees.
Remove from heat and let sit for 10 minutes.
Toss your wings in the sauce you made
Plate and serve with blue cheese, carrots and celery sticks, and garnish with parsley or green onions.
Enjoy!
Keep spreading love, good people!
Best,
Chef Jake


