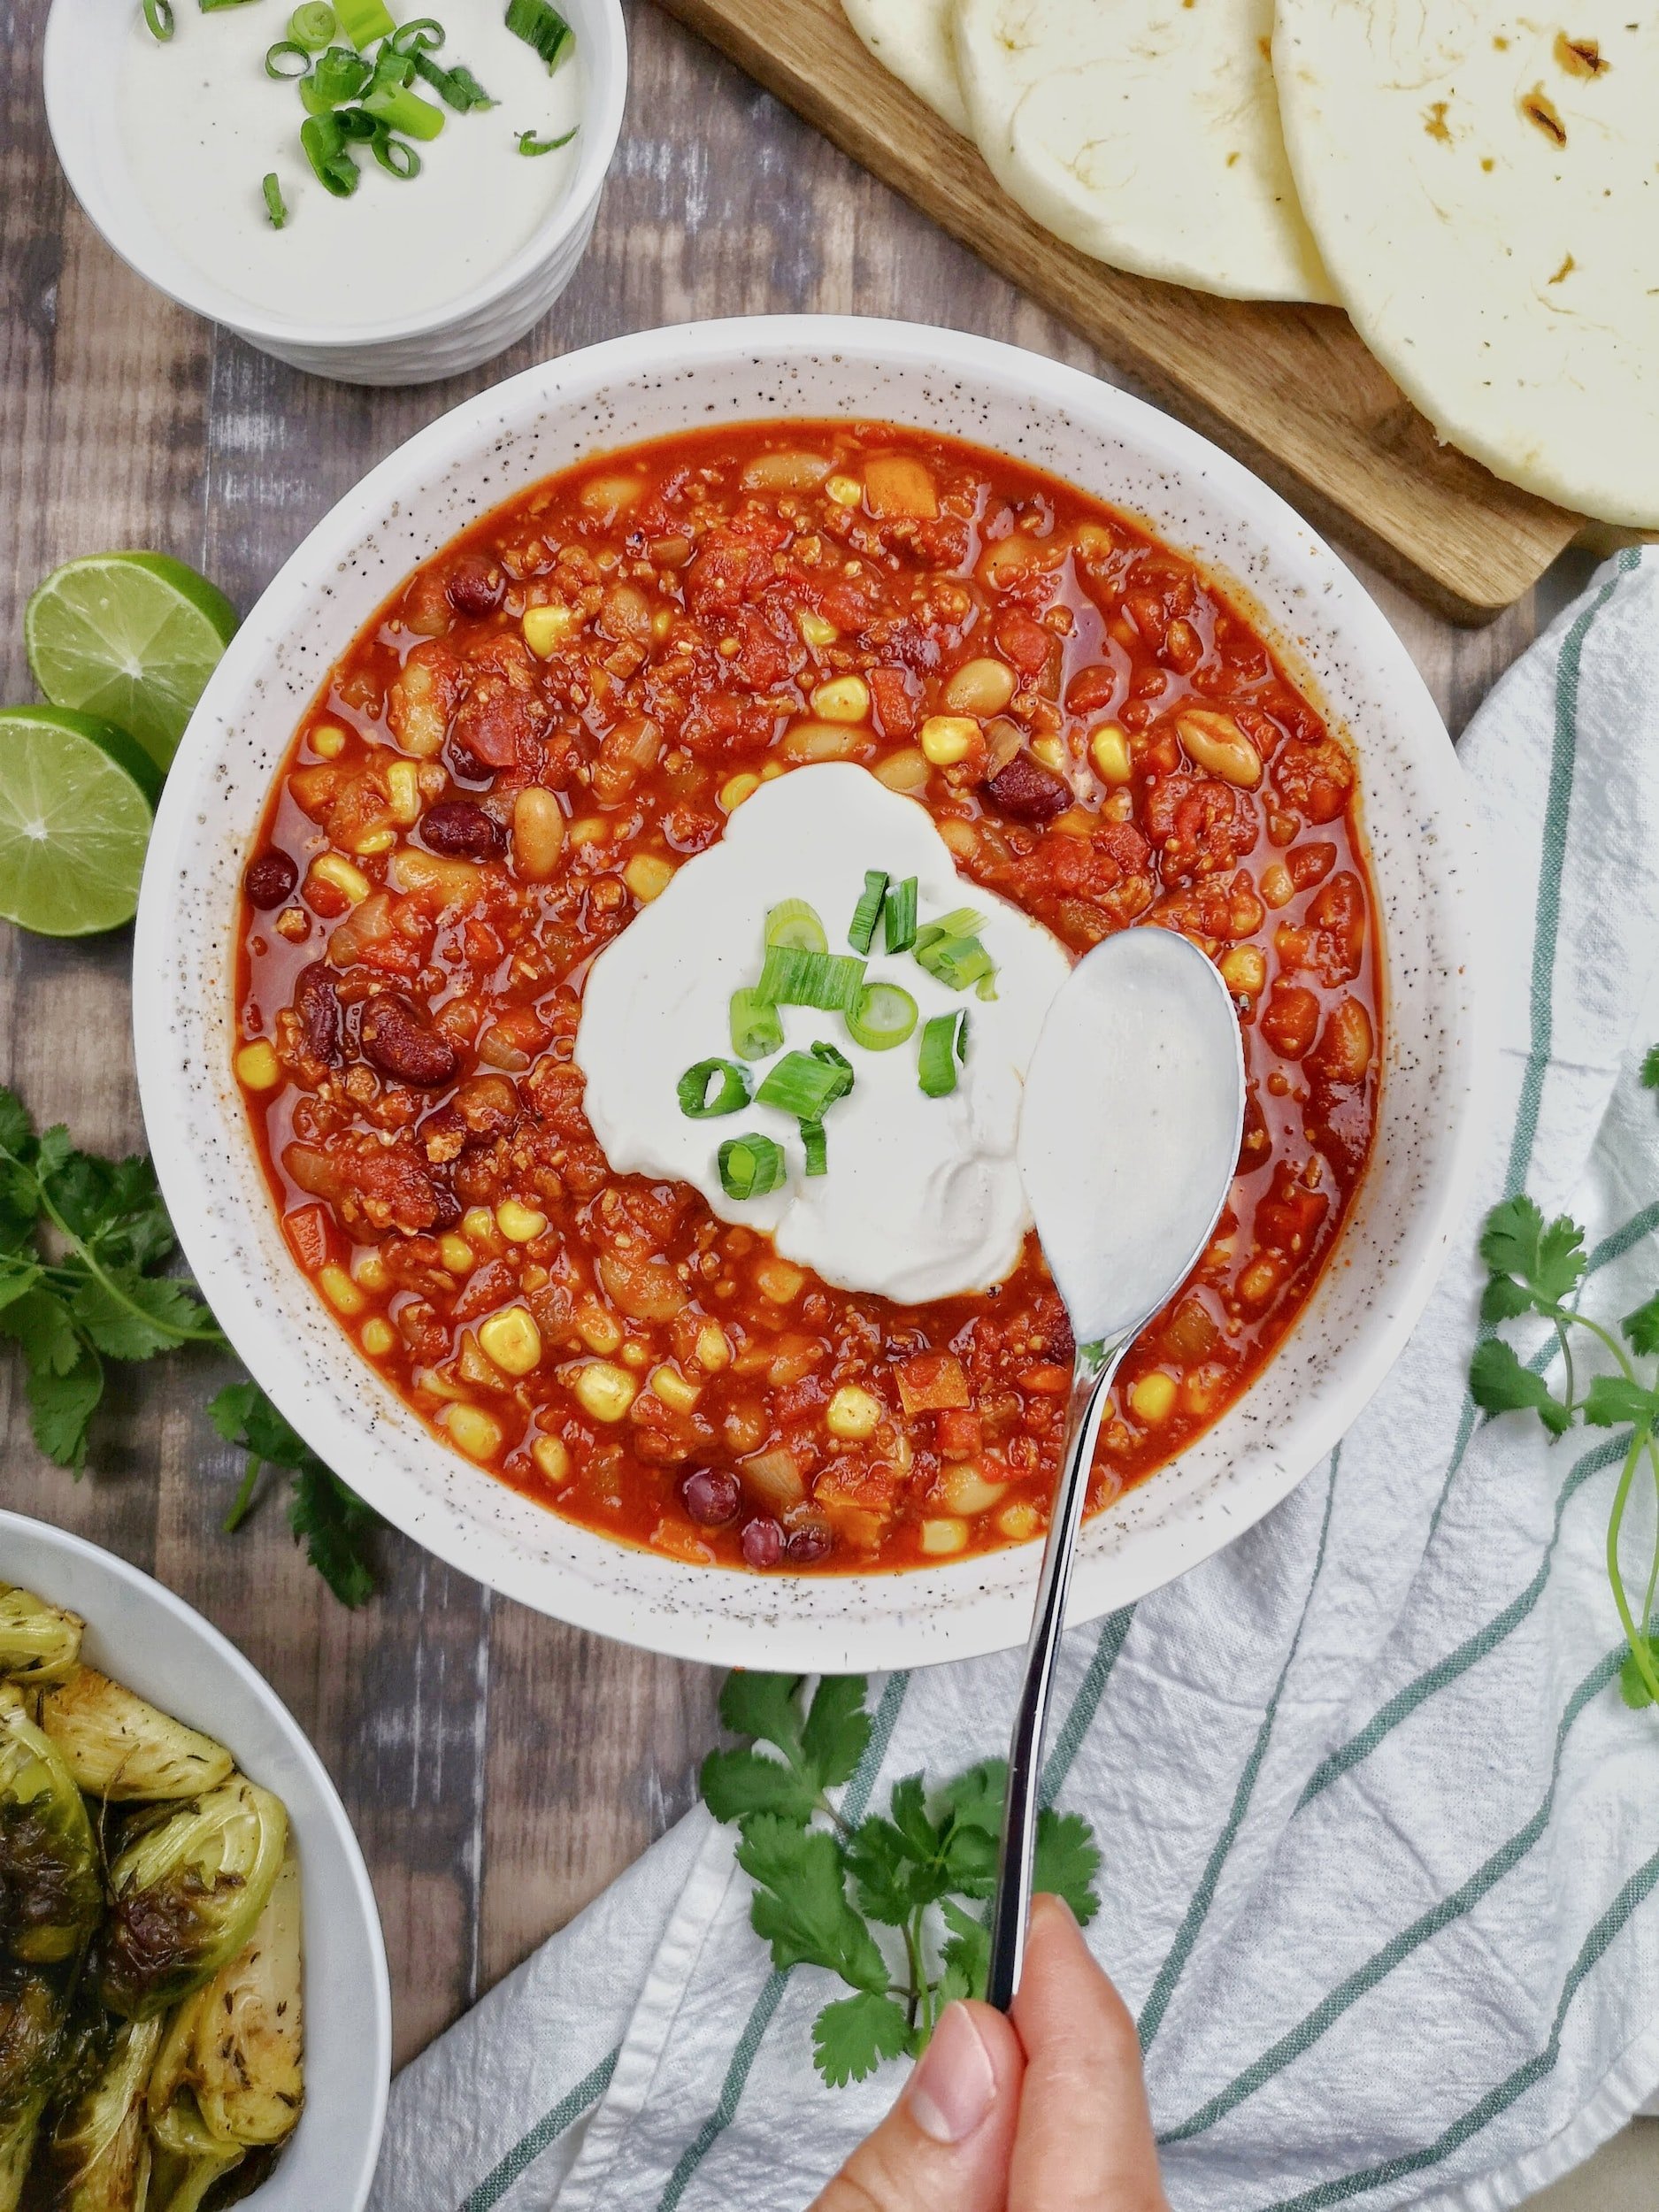
Award Winning Smoked Pork Chili
award winning smoked pork butt chili. this is the easiest and most delicious chili you will ever eat in your life. make it for your children, wife, husband. it doesn't matter. you're guests will love this chili. your family will love this chili
Award Winning Smoked Pork Chili
This Chili recipe is so easy & delicious you’ll never make another chili recipe again. The secret is not getting too crazy with this one. When I think of Chili, I go back to my childhood eating grilled hot dogs and chili loaded with cheese & sour cream on those brisk football sundays. I wanted to create a recipe that revamped the classic Chili I remember eating growing up. Award-Winning Chili recipe coming at ya!
Smoked Pork: I’m going to save my lecture on the art of smoked barbeque for a rainy day, but if you plan on taking on this portion of the recipe from scratch, here are a few pointers: (don’t be afraid to outsource the smoked pork unless you’re extra like me.)
Low & Slow is the way to go
For a pork butt, I try to maintain my smoker between 200°f-225°f
Let your pork butt rest OUT of the fridge for a few hours before you plan on smoking. You don’t want to put a cold piece of meat on your smoker. (it’ll help with a more even cook)
Don’t go crazy with your dry rub! Salt, pepper, and paprika is the way to go!
Lather your meat in a mixture of yellow mustard and hot sauce before applying your dry rub. The wet rub acts as a tenderizer and gives your spice blend something to stick to
When your temperature probe penetrates the meat and feels like a bag of butter, you’ve officially smoked a butt!
Ingredients:
2 Tbsp vegetable oil
1 medium onion, diced
2 lbs smoked pork butt
1 Tbsp chili powder
4 Tbsp Cumin
3 Tbsp Brown Sugar
2 Tbsp garlic powder
3 tsp salt
1 tsp black pepper
3 cups beef broth
½ can tomato paste
1 can diced tomatoes
2 can kidney beans
1 can tomato sauce
3 bulbs garlic, minced
Directions:
In a large pot, heat your oil.
When oil begins to sizzle, add your onions and stir until translucent.
Add chili powder, cumin, brown sugar, garlic powder, salt, pepper, garlic, and tomato paste. Stir to combine.
Once fragrant, add your beef broth, diced tomato, beans, and tomato sauce.
Bring everything to a simmer
Once simmering, add your shredded smoked pork and stir to combine.
Leave on low heat for several hours or until desired flavor and consistency has been reached.
Pro Tip: Start this recipe 1-3 days before you plan on actually eating it. The longer you let the Chili simmer, the more the flavors will meld and develop.
You can adjust the “intensity” of the chili by adding some water or simmering until the chili has reduced to desired flavor.
Carolina Gold Arancini
Crunchy outside with a soft & cheesy interior, these Carolina Gold Rice Fried Arancini balls will transport you to another dimension. I mean, these things are seriously so delicious! Another Fusion dish from Chef Jake White. This might just be the best of the southern united states and Italy in one delectably irresistible bite.
Carolina Gold Arancini, Parmesan & Sesame Seeds
While we might have lost most of our crop variety since the commercial adoption of monoculture, there are still some people out there trying to preserve America’s great heirloom varieties. Marsh Hen Mill, a family-owned farm on Edisto Island, SC is one of them, growing and milling their own heirloom grains like Sea Island red peas, Carolina gold rice, black eyed peas, and Blue Corn.
Carolina gold rice is a staple crop in South Carolina. It’s a long grain flavorful rice and a perfect canvas for tons of classic southern dishes. There are a billion ways to prepare white rice and I'm sure you’re familiar with more than a few. You probably don’t have quite as many recipes for all that leftover rice, though. This is a modern take on a classic but if you don’t like parmesan or sesame, there are so many other ways to play with flavors here. Have at it!
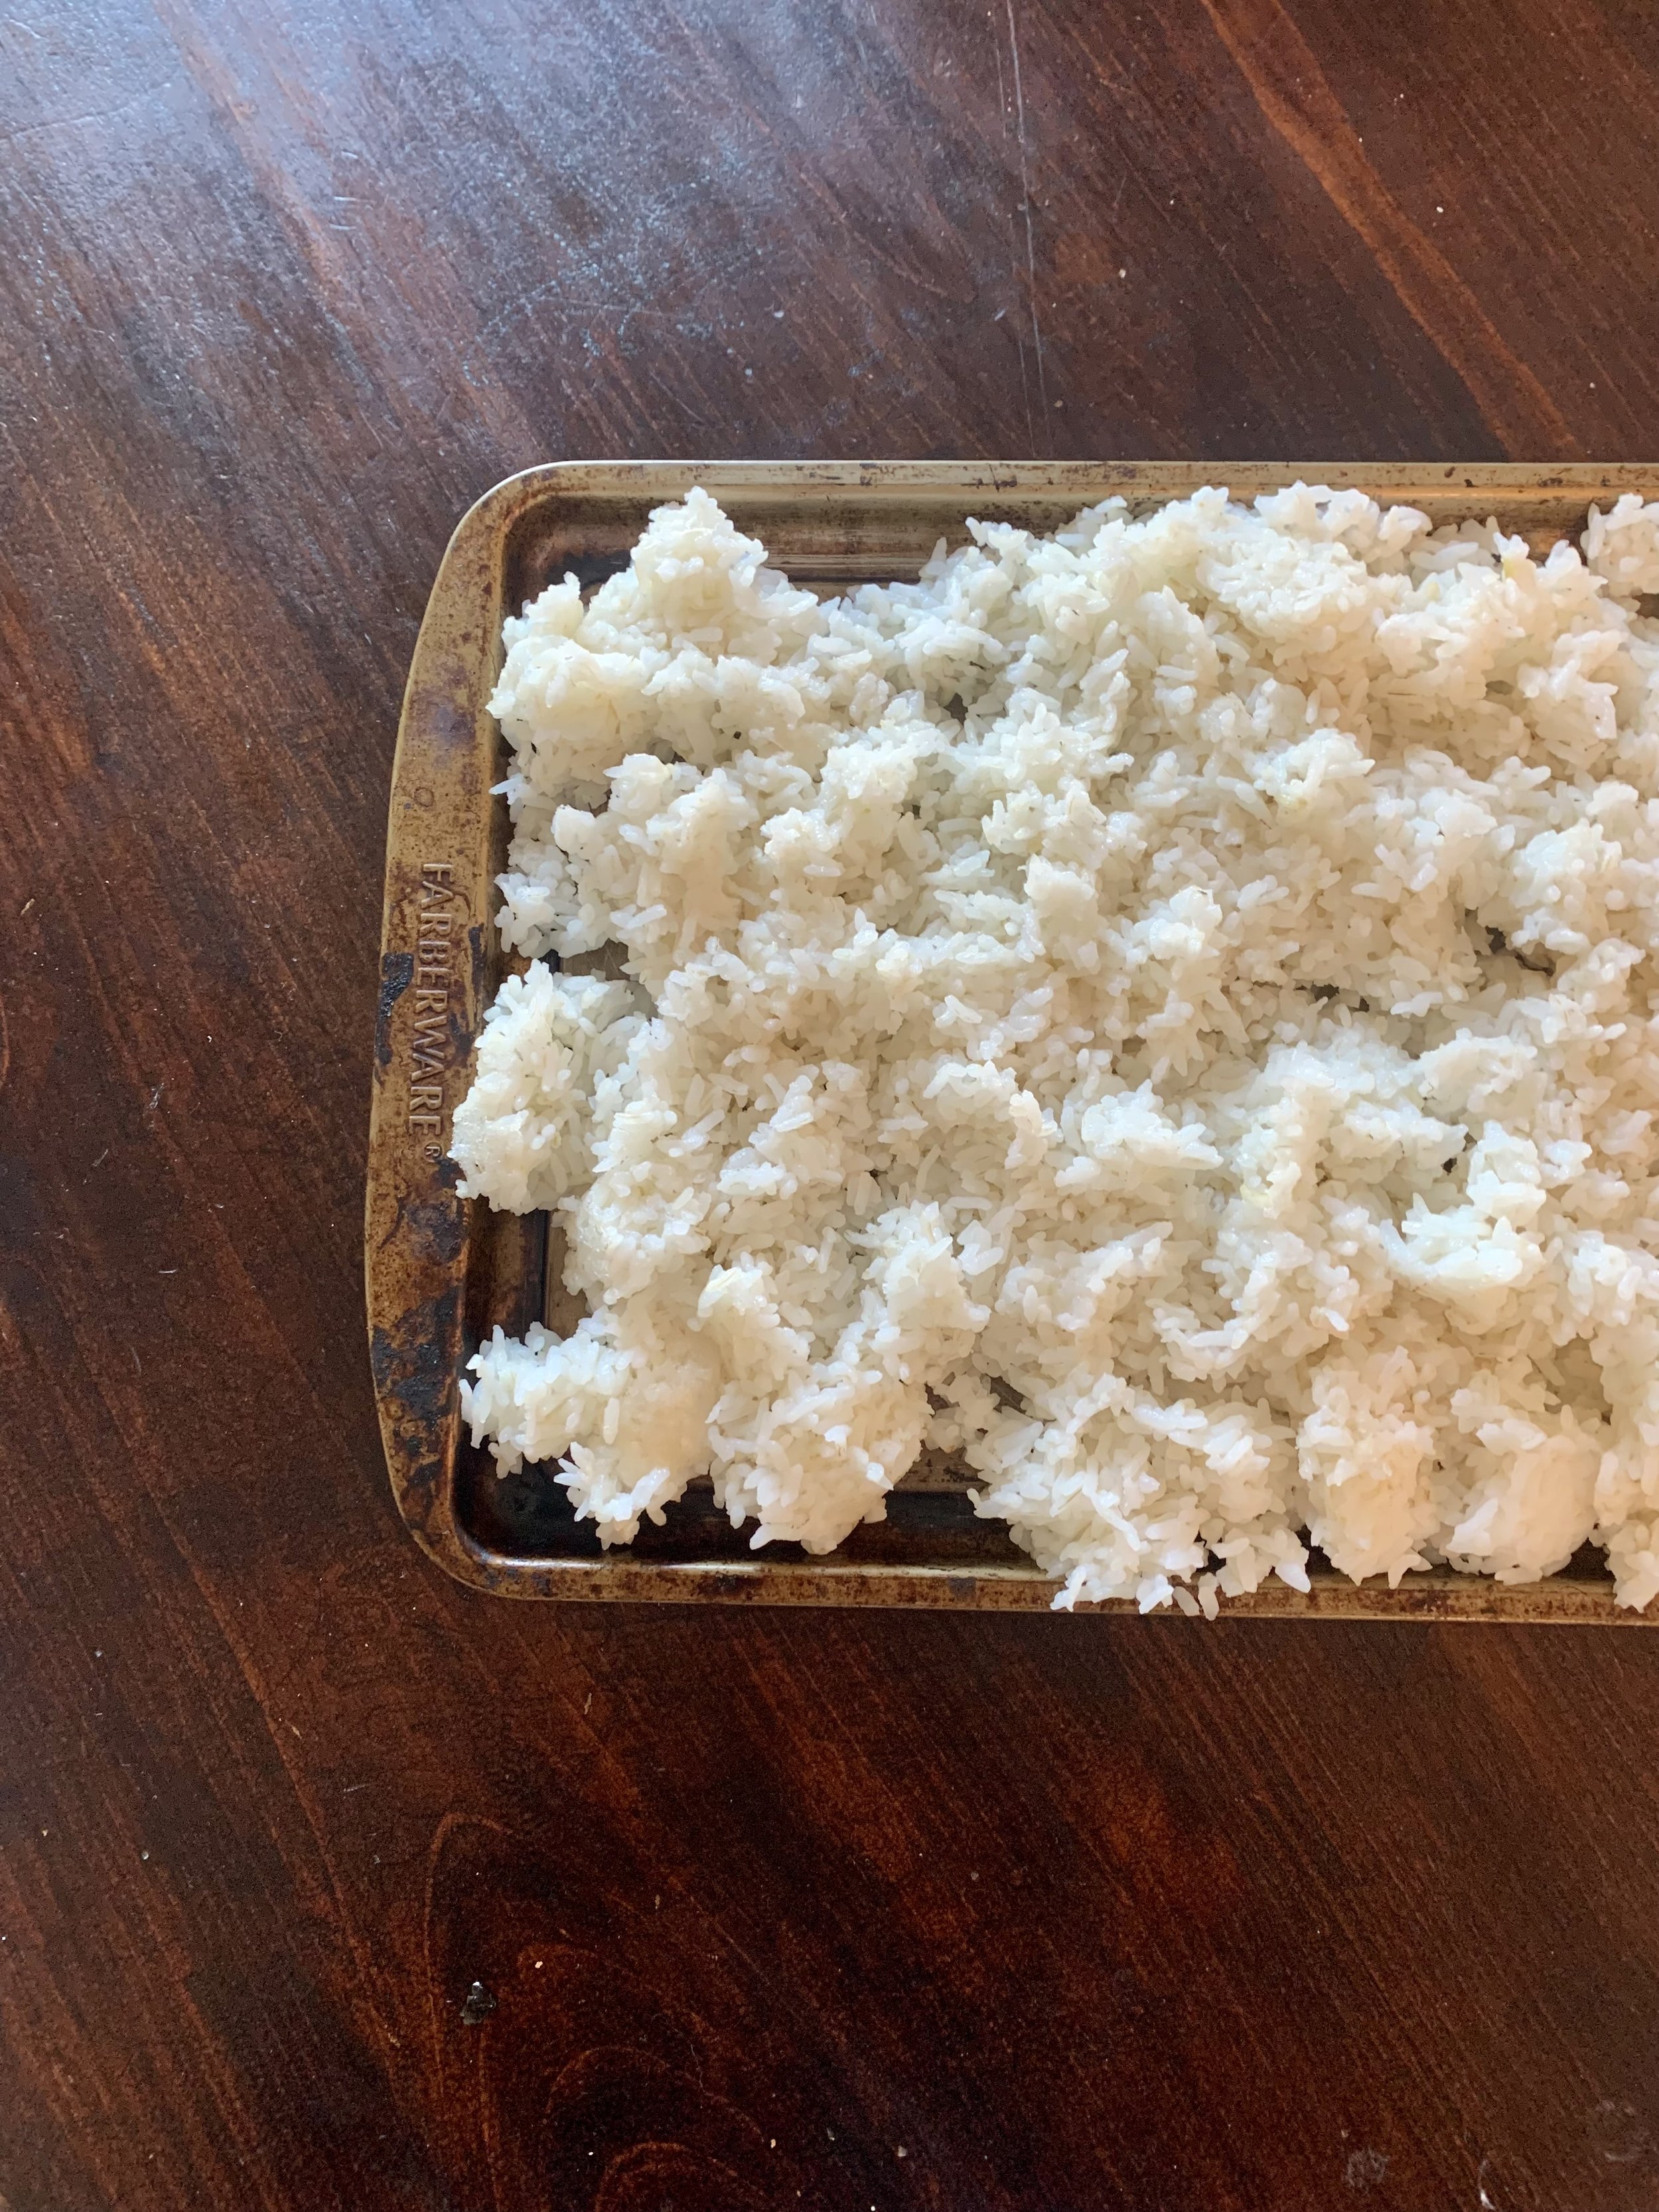
Note: Make sure you use cooled leftover rice. This recipe won’t work with fresh rice.
Ingredients:
2 cups Carolina gold rice, cooked
½ cup grated parmesan
1/8 cup parsley, chopped
¼ tsp minced garlic
3 large eggs
2 cups panko, finely ground
1.5 cups AP flour
1 Tbsp Sesame Seeds
s&p to taste
Directions:
In a large bowl, combine your cooked rice, parmesan, parsley, garlic, sesame seeds, and egg.
If more binder is needed, add finely ground panko a little at a time until proper texture is reached
Roll mixture into balls about the size of golf ball
Place on a parchment lined baking sheet and chill in the freezer.
While your mixture is chilling, set up an egg wash station with finely ground panko in one bowl, whisked eggs in another, and AP flour in the last.
After about 30 minutes, remove the chilled rice balls from the freezer.
First, coat the rice ball in flour. Shake off excess.
Next, dunk the flour-coated rice ball in the egg mixture followed by the panko mixture.
Return to your baking sheet and proceed with the rest of the rice balls.
Once all the rice balls have been egg-washed, return to the freezer for 30 minutes or overnight.
When you’re ready to cook, Heat oil in a deep bottom pan on medium high heat.
Once preheated, add your Arancini to the oil. Constantly rotate to ensure even browning. Each one will take about 6-8 minutes in the oil.
While still hot, garnish with salt, parmesan, sesame seeds, and parsley. Enjoy!
Tips for Pretty Plating
The Holiday season is fast approaching. That means lots of family gatherings, playing host, and entertaining people. You’ve gone the catering route already. Now you wan’t to make something homemade for your dinner guests and show them what you’ve got!
Hi Friends,
The Holiday season is fast approaching. That means lots of family gatherings, playing host, and entertaining people. You’ve gone the catering route already. Now you wan’t to make something homemade for your dinner guests and show them what you’ve got! Wether you’re a good cook or not, the final presentation of the plated food is very important in how the taste of the dish is perceived, believe it or not. Here are some tips and tricks to “wow” your guests with beautifully designed plates…….and hopefully the food is good too. heh
Build on your Starches
A typical balanced dinner meal will include a starch of some sort. “Build on your starches” means add it to the plate first. I usually will put it right in the center of the plate. For example, a big spoonful of rice or potatoes neatly mounded in the center of the plate.
Add a variety of Color
Be mindful of the different colors that will be in your dish. For this example plate, We’re building off a base of roasted diced potatoes and our main entree is roasted airline chicken. Those are two ingredients with very minimal color. If we presented these items on the plate by themselves, no one would be excited to eat it. So, We’re going to add a bright vegetable to the mix. It could be something green like broccoli. Red like beets. White like cauliflower. It really could be anything. For the example dish we’re building, we’re going to add broccoli and keep a fresh lemon, as well as some fresh chopped parsley handy for later.
Build “Up” on the Plate
Alright, so we’ve got our mound of diced potatoes in the middle of the plate and our steamed broccoli on the top right side of the potatoes in a nice neatly presented mound. Now we’re going to take our nicely caramelized airline chicken and lay it over the potatoes on an angle. Making sure we build the plate up high and not letting the potatoes flatten under the chicken. Building “up” on a plate with the focal point at the center is more of a southern style of plating. It creates for an interesting contrast of depth that catches the eye.
Don’t Underestimate the Power of Garnishes
Alright, lets review this again. So now we have our neat mound of potatoes in the center of the plate stacked nice and high. Our bright green steamed broccoli in a neat mound to the top right of that. And we just added the chicken atop the potatoes in a visually interesting way. This plate is already quite pretty by itself but it is missing a little something. Take the fresh parsley you chopped earlier and sprinkle it on the plate - dusting the chicken, potatoes, broccoli, and exposed part of the plate. Now take your lemon and zest some of the lemon rind over the chicken and the broccoli. Once satisfied, slice the lemon in half and drizzle some of the juice over the food on the plate.
Finishing Touches
Alright, now my mouth is watering. The only thing left to do is get a damp paper towel and gently wipe around the edges of the plate where juices may have dripped or unwanted parsley or zest may have fallen. Finish with a little salt and pepper, take a step back, and be proud of the edible piece of art that lays before you.
pro tip: You could even take the presentation up a notch further by adding a quartered wedge of salted tomato or a very light sprinkling of some smoked paprika to give it an extra pop.
Keep spreading love, good people!
Best,
D.B.


